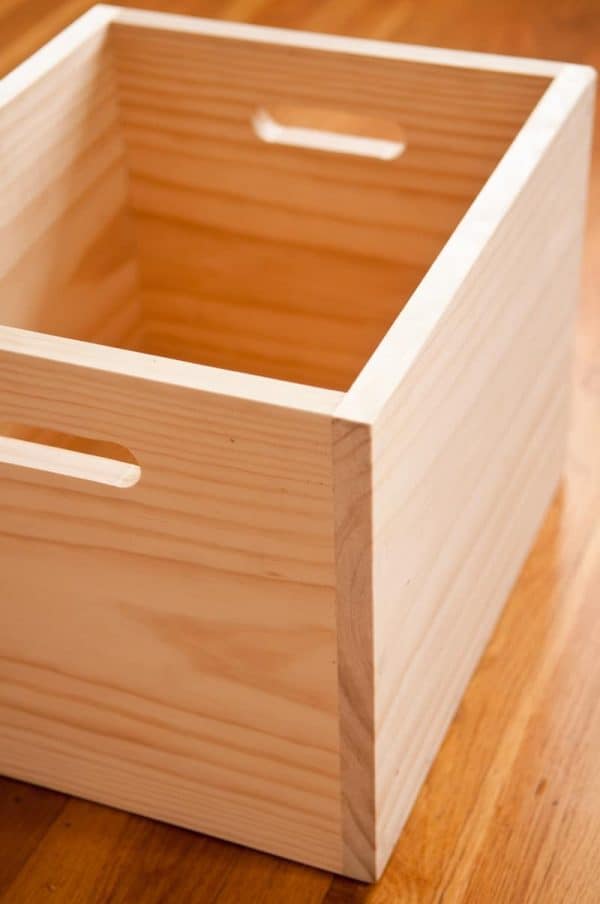
Hey there, fellow magic enthusiasts and curious crafters! Ready to unleash your inner illusionist? Let's build a magical box, not just any box, but a wooden magic box that will hold your tricks and secrets, and maybe even amaze a few friends along the way.
Don't worry, this isn't some complicated woodworking project that requires a lifetime of experience. We're keeping it simple, fun, and approachable. Think of this as your gateway to the world of DIY magic boxes, the perfect starting point for your enchanting journey.
### Materials You'll Need:
Wood: Choose a good quality wood that's easy to work with. Pine, plywood, or even some scrap wood you have lying around will do just fine. We're aiming for a box that's around 8 inches by 6 inches by 4 inches.
Tools: A saw, a hammer, nails or screws, sandpaper, a ruler, pencil, glue, and a few clamps. That's pretty much it!
Optional Extras: Paint or stain to give your box a personalized touch, decorative hinges, a lock and key, or even some felt lining for a plush interior.
### Step 1: Cutting Out the Pieces
Grab your wood and get ready to measure and cut. Here's the breakdown:
Bottom: Cut a piece of wood to 8 inches by 6 inches. This will be the base of your magical box.
Sides: Cut two pieces to 6 inches by 4 inches. These will be the side panels.
Front and Back: Cut two more pieces to 8 inches by 4 inches. These form the front and back of the box.
Now, you can use a jigsaw, a handsaw, or even a coping saw to cut these pieces. No matter which tool you choose, make sure your cuts are accurate and clean.
### Step 2: Assembling the Box
Time to get those pieces together!
Gluing: Start by applying a generous amount of wood glue along the edges of your bottom piece.
Attaching the Sides: Carefully attach the two side pieces to the bottom piece, making sure the edges line up perfectly. Use some clamps to hold everything in place while the glue dries.
Adding the Front and Back: Once the sides are secure, apply glue to the edges of the front and back pieces and attach them to the sides. Again, use clamps to ensure a tight fit.
Let it Dry: Give the glue plenty of time to dry completely. This may take a few hours, so grab a cup of tea and relax while the magic unfolds.
### Step 3: Smoothing the Edges
Now it's time to make your box look nice and tidy!
Sanding: Gently sand down any rough edges or imperfections. Use different grits of sandpaper to achieve a smooth finish.
Optional: Finishing Touches: This is where your creativity comes in! You can paint the box with your favorite colors, stain it for a rustic look, or decorate it with stencils and decoupage.
### Step 4: Adding the Magic (and some Finishing Touches)
Your box is almost ready to unleash its magic!
Hinges: If you want to add a hinged lid, measure and attach your hinges to the top of the box. You can use screws or even decorative brads to secure them.
Lock and Key: Want to keep your secrets even more secure? Add a lock and key! This will add an extra layer of mystery to your magic box.
Felt Lining: If you want to create a soft interior for your magic box, use some felt sheets to line the inside. This will help keep your tricks safe and sound.
### Step 5: The Grand Reveal!
Your DIY magic box is complete! Take a moment to admire your handiwork. Feel the smooth wood, the sturdy construction, and the promise of magic that lies within.
### Ideas for your Magic Box:
Here are a few ideas to spark your imagination:
Vanishing Box: Use a hidden compartment to make objects disappear and reappear, creating a classic illusion.
Coin Box: Create a simple coin box where coins seem to multiply or vanish.
Card Box: Use compartments to switch cards, revealing a different card than the one chosen by your audience.
Secret Box: Store your prized possessions, secret messages, or even a special trinket within your magical box.
### Sharing the Magic
Now that you've built your magic box, it's time to share the magic! Use it to amaze your friends and family with simple illusions. Practice your routines, add a sprinkle of showmanship, and let the wonder of your creations fill the air.
Remember, the real magic isn't just in the tricks but in the joy of sharing and the smiles you bring to others. Happy creating, and happy magic-making!


