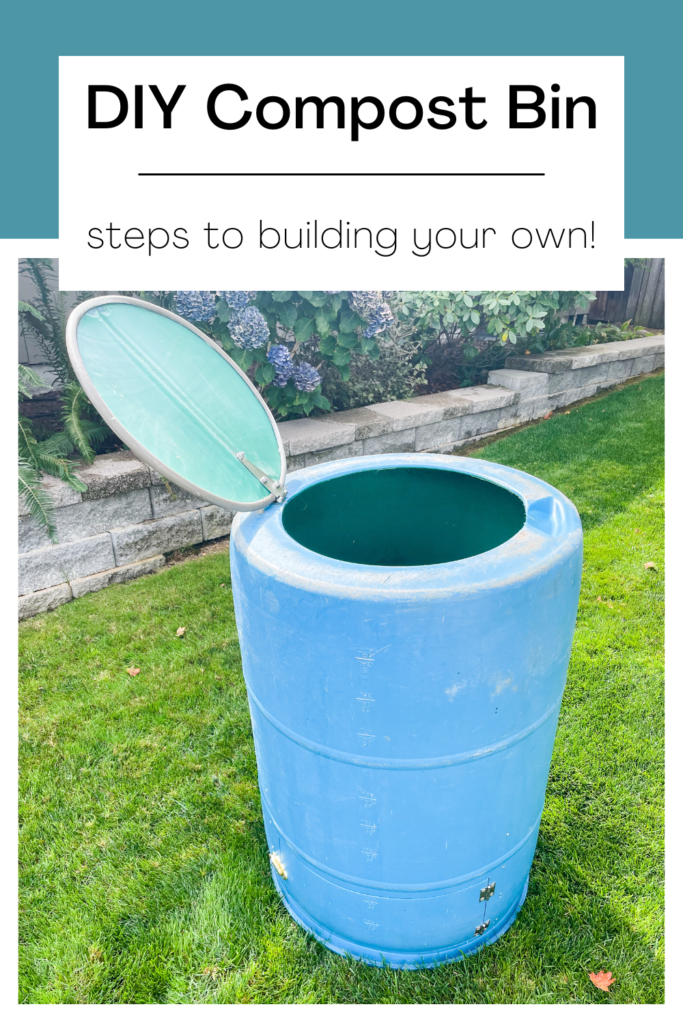
DIY Compost Bin: Step-by-Step Guide to Building Your Own
Transform your kitchen scraps and yard waste into nutrient-rich compost with a DIY compost bin! This project is surprisingly simple and can save you money on store-bought compost. Let's dive into the steps to build your own composting haven.
Materials You'll Need
Before you start, gather these essential materials:
- Four wooden pallets (look for sturdy pallets with minimal gaps between slats)
- Heavy-duty screws (at least 2.5 inches long)
- Power drill
- Tape measure
- Level
- Safety glasses
- Optional: Chicken wire or hardware cloth (for added ventilation)
Step-by-Step Construction
1. Prepare the Pallets
Remove any loose nails or debris from the pallets. Use a hammer and pry bar to carefully dismantle the pallets if necessary, separating them into individual slats. Make sure the slats are straight and free of any warping.
2. Assemble the Compost Bin Frame
Lay two pallet slats on the ground parallel to each other, forming the base of your bin. These slats will be the bottom of the compost bin. Secure them together with screws.
Next, place two more pallet slats vertically against the base slats. This will create the sides of the bin. Secure these slats to the base with screws, ensuring they are upright and level.
Repeat the process with the remaining two vertical slats, completing the opposite side of the bin. Now you have a rectangular frame ready for the top.
3. Attach the Top Slats
Lay two pallet slats horizontally across the top of the bin, connecting the vertical slats. Make sure they are flush with the sides. Secure them in place with screws.
4. Add Ventilation (Optional)
If you want to enhance ventilation, you can attach chicken wire or hardware cloth to the inside of the bin. This helps to improve airflow and prevent moisture build-up. Use wire cutters to trim the material to size and secure it with staples or wire ties.
5. Find a Suitable Location
Choose a shaded area for your compost bin, as direct sunlight can dry out the compost. Make sure the location has good drainage to prevent waterlogging.
Using Your Compost Bin
Now that your compost bin is built, it's time to start composting! Follow these tips for successful composting:
- Layer your materials. Alternate layers of "green" (nitrogen-rich) materials like kitchen scraps, grass clippings, and coffee grounds with "brown" (carbon-rich) materials like leaves, twigs, and shredded paper.
- Keep it moist. The compost should be moist but not soggy. Water it occasionally if it feels dry.
- Turn the compost regularly. To ensure good aeration and decomposition, turn the compost pile every few weeks. This will help the materials break down more quickly.
- Be patient. Compost takes time to mature. It may take several months to a year for your compost to be ready to use.
Conclusion
Building your own compost bin is a rewarding and eco-friendly project. With these steps and a little patience, you'll have a sustainable solution for recycling your kitchen and yard waste. Enjoy the rich, nutrient-dense compost you create to nurture your garden!


